

All About Pumpkins: Tricks & Treats When Carving Spooktacular Jack-O-Lanterns
September 24, 2019 | Food Lion

Carving a pumpkin for Halloween? is a holiday tradition that is loved by the whole family. After all, it’s something you can enjoy doing together to celebrate. Plus, your Halloween decorations aren’t complete without glowing jack-o-lantern faces and designs, right?
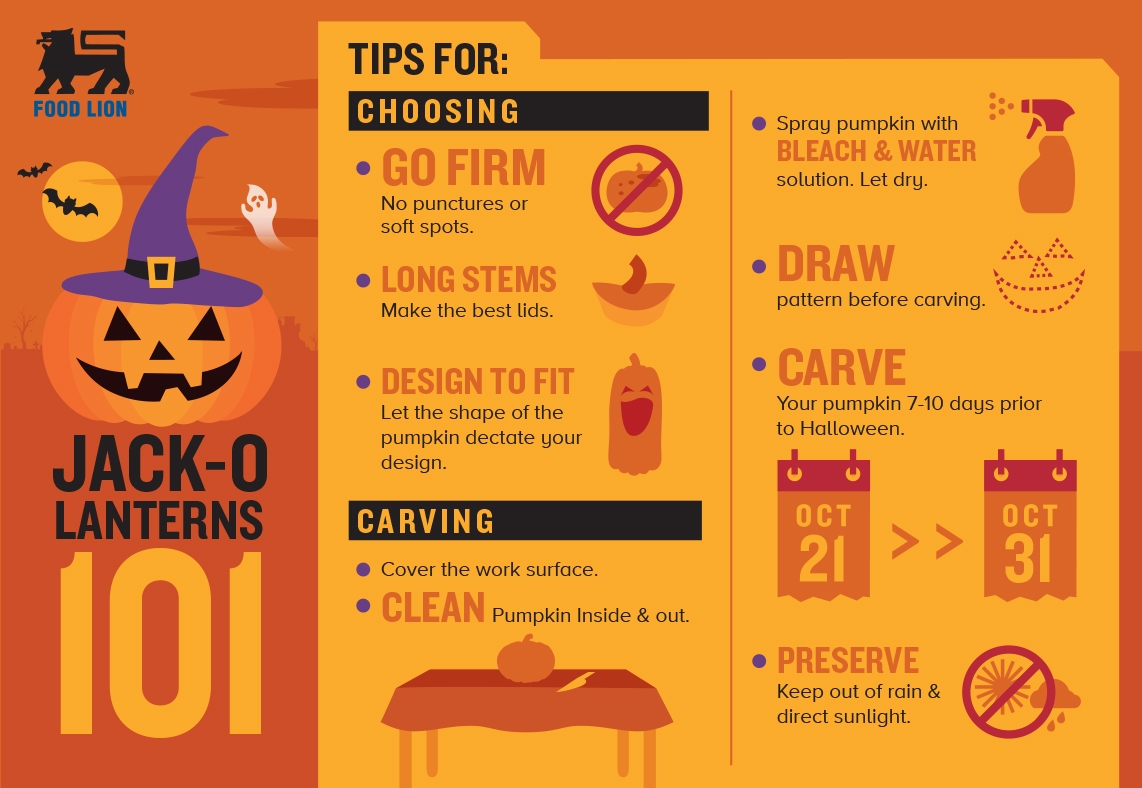
From knowing how to choose the perfect gourd and tips for carving pumpkins to tasty things to make with your leftover seeds, this blog is your go-to pumpkin guide. In fact, we created a festive and helpful infographic that’ll be extra handy on this autumn holiday. Take a look below, then continue reading to learn more; and snag a couple of pumpkin seed recipe ideas as well
Tricks for to Choosing the Perfect Gourd
As you’re looking for your pumpkin at your neighborhood Food Lion, we have a few tricks that can help you choose the perfect one for your carved jack-o-lantern this year:
- Check the firmness. Look for pumpkins that don’t have punctures or soft spots. This is especially important if you’re planning to channel your inner artist and carve a more intricate design. A firmer pumpkin will hold up better when cut. But, if you’re planning to carve a simple jack-o-lantern smile, a small blemish isn’t a big deal.
- Long stems make the best lids. The reason being is that the stem is your handle, right? So, the longer the stem, the easier it is to grab the “handle” and open the jack-o-lantern lid to place your candles inside and blow them out at the end of the night.
- Design to fit. Let the shape of the pumpkin you choose dictate your jack-o-lantern design. So, for example, if you have a pumpkin that’s on the wider side, a spooky face with a big grin would be a fantastic design.
Tips for Carving Pumpkins
Once you’ve found the perfect orange gourd using the tricks above, you’re almost ready to start creating your jack-o-lantern masterpiece. But, before you do, keep these handy tips for carving pumpkins in mind:
- Prep your work surface. Making sure that your work surface is covered is key! That way, clean up after you’re done is a lot easier. So, grab some old newspapers, a plastic table cloth or even food wrap and cover your work surface before carving your pumpkin.
- Clean your pumpkin inside and out. Spray the outside of the pumpkin with a combination of bleach and water, which you can mix up in a spray bottle. Then, let your pumpkin dry. Next, you’ll cut a lid for your pumpkin and clean out the innards.
- Draw your design before carving. That way, you can plan your perfect jack-o-lantern creation before making any cuts. And free-hand carving is pretty tough, right? You can also use the pumpkin carving kits that are equipped with the paper designs and use the tools provided to trace them onto your gourd.
- Don’t carve too early. This tip for carving pumpkins is all about making sure that your jack-o-lantern looks fresh and sturdy for Halloween night. So, wait to carve until 7 to 10 days prior to the actual holiday.
- Protect your pumpkin from the weather. The sun and rain are not your jack-o-lantern’s friend when it comes to preserving them. So, keep them in a shady, dry place on your porch to keep them looking great for Halloween.
Save the Seeds for Tasty Treats
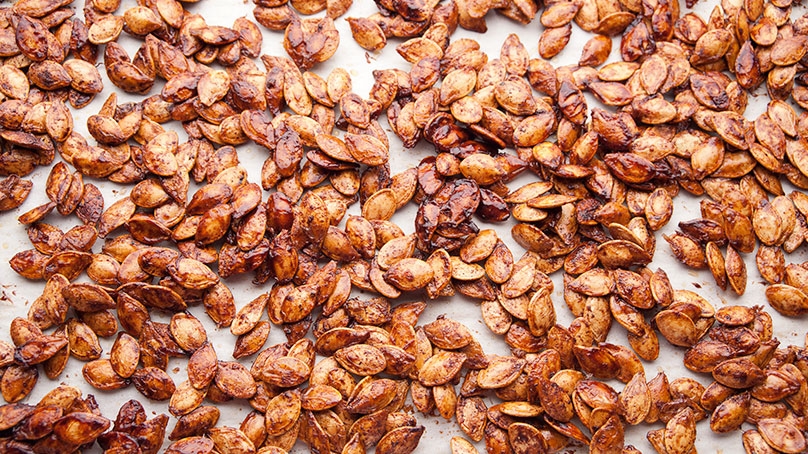
We have one more tip for carving pumpkins - save the seeds! They make really tasty snacks that can be enjoyed on their own, mixed into savory or sweet snack mixes or used as a topping for yogurt and oatmeal.
Not sure how to prepare your pumpkin seeds? We’ve got you covered! Check out our two delicious recipe ideas below.

This festively fall pumpkin seed recipe is sweet, easy and only requires four ingredients to make it. That’s right! And even though it doesn’t take a lot of things to put together this snack, these pumpkin seeds are packed with flavor. Here’s what you may need to add to your grocery shopping list: butter, ground cinnamon, ground nutmeg and pumpkin seeds (of course!).
You could also use pumpkin pie spice in place of the other spices listed above. Ever wonder what’s actually in that spice blend? It’s comprised of ground cinnamon, nutmeg, cloves and ginger. So, you can probably see why that would be an easy substitution. Now, get ready to make this sweet snack and check out our recipe portal to see the step-by-step directions!
This second pumpkin seed recipe idea is mapley and oh-so sweet! It would taste great as a crunchy topping on vanilla or caramel swirl ice cream (or on top of oatmeal and yogurt - like we mentioned above - for breakfast time).
To make these Maple Roasted Pumpkin Seeds, you’ll start by melting 2 Tbsp. of salted butter in a saucepan. Then, stir in 2 Tbsp. of Nature’s Promise maple syrup and 1 tsp of ground cinnamon until well combined. Remove from the heat.
Next, mix in 2 cups of pumpkin seeds. Try to get the seeds evenly coated. At this point, you’ll also want to line a baking sheet with parchment paper. Then, sprinkle the coated pumpkin seeds in an even layer.
Bake at 300℉ for 20 minutes or until your pumpkin seeds are lightly toasted. Once cooked, let them cool on the parchment paper on the counter or on a cooling rack. And that’s all there is to it!
Enjoy Halloween with Your Family
Now that we’ve covered some helpful tips for carving pumpkins and given you a couple of tasty ideas for enjoying the seeds, it’s time to get ready for the holiday. Snag all of your Halloween essentials at your local Food Lion, including candy, beautiful pumpkins and more all at low prices that are a real treat. Happy Halloween everyone!


Reviews
(
)
Submit a Review
Create Your Display Name